
Record Lecture with Panopto
Panopto is a video platform that allows you to record, edit, and share videos for your courses. This guide will help you set up your workspace, ensure sound quality, and go over the basics of the Panopto video platform.
Accessibility
Panopto includes accessibility features like screen reader support, full keyboard navigation, and captioning for all sessions. The Accessibility Conformance Report (ACR), based on WCAG 2.1 AA and Section 508 standards, was last updated in April 2025.
LEARN MORE Panopto Accessibility Features Open in New Window
STEP 1 — SETUP YOUR WORKSPACE
Choose a quiet, well-lit space, position your camera at eye level, and bounce a light of a white wall to soften harsh lighting.
LEARN MORE Recording Best Practices Open in New Window

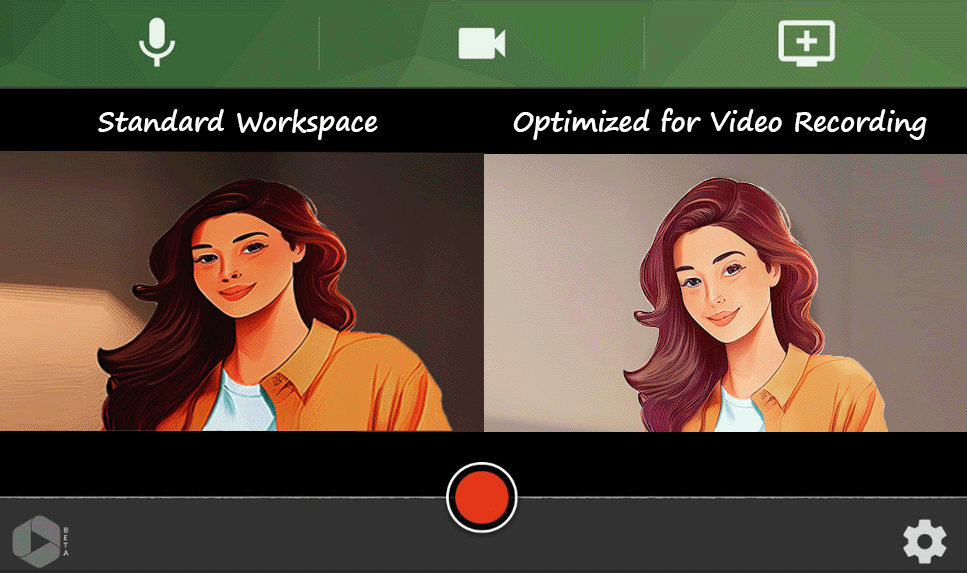
Characteristics of a standard workspace:
- Lighting is variable (too bright or too dim).
- Camera is below or above eye level.
Results:
- Dark shadows or blown out contrast.
- Camera is looking up your nostrils... no one wants that.
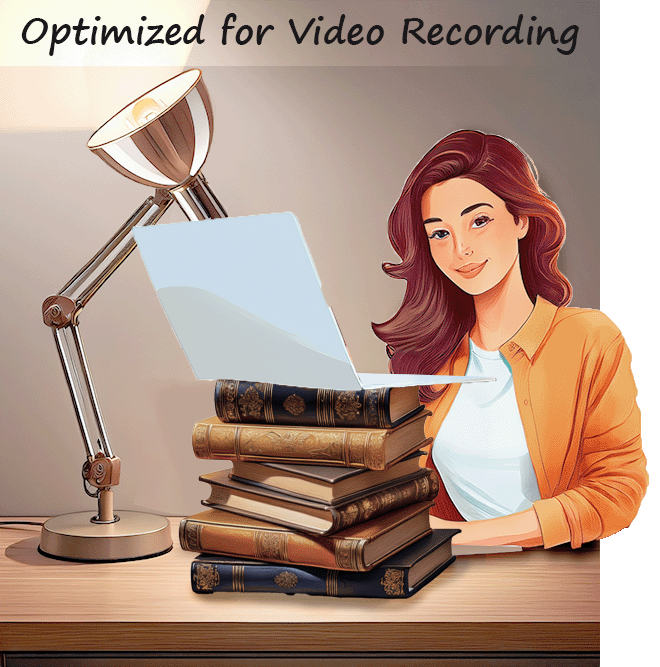
Characteristics of workspace optimized for video:
- Lighting is bright and comes from multiple angles including bouncing off white wall.
- Camera is at eye level.
Results:
- Lighting appears normal and doesn't draw attention to itself.
- Camera angle appears normal and doesn't draw attention to itself.
STEP 2 — SOUND QUALITY
Microphones
If you can afford it, purchase a condenser desktop microphone to capture clear, high quality speech. Look for a USB microphone for easy plug-and-play compatibility with most computers.
AMAZON: Desktop Condenser USB Microphones Open in New Window
Audio Help
Panopto offers Audio Normalization Open in New Window which can automatically boost or soften the volume to match a target audio level, and will help even out the audio across the recording

STEP 3 — LOGIN TO CANVAS
Login to the course you're teaching in CANVAS to access Panopto's video recorder.
Keep Learning Idaho CANVAS:
keeplearninguidaho.instructure.com Open in New Window
If you need help logging in, please see our login help.
STEP 4 — RECORD & EDIT VIDEO
Access Panopto in CANVAS RichText Editor
Edit any CANVAS module page, assignment, discussion, or quiz. Click the Panopto button on the richtext editor to launch Panopto.
LEARN MORE How to Use Panopto with Canvas for Instructors Open in New Window

Launch Panopto Capture
Click the Record tab and then Launch Capture to access the Panopto Video Recorder.

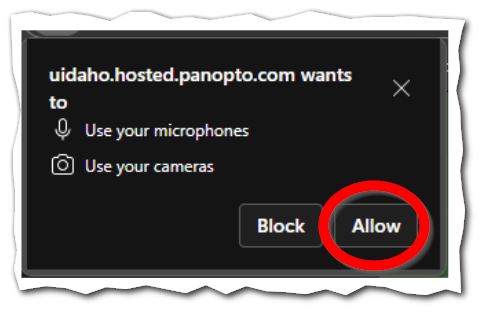
Camera and Microphone Access
Click ALLOW on Panopto's request to use your Camera and Microphone.
Video Quality
Click Settings (Gear icon).
Under Recording Options, select HD (High Definition), or Ultra HD
NOTE: If your internet connection is slow, you may switch back to SD for faster performance.
You can also adjust your backgound, however, this was a BETA feature for Panopto at the time of this writing, and did not produce the highest quality results. We recommend using a green screen, a solid color wall behind you for better results.

Select a Screen to Record
Click Screens and Apps to select which screen you'd like to record with your video lecture.
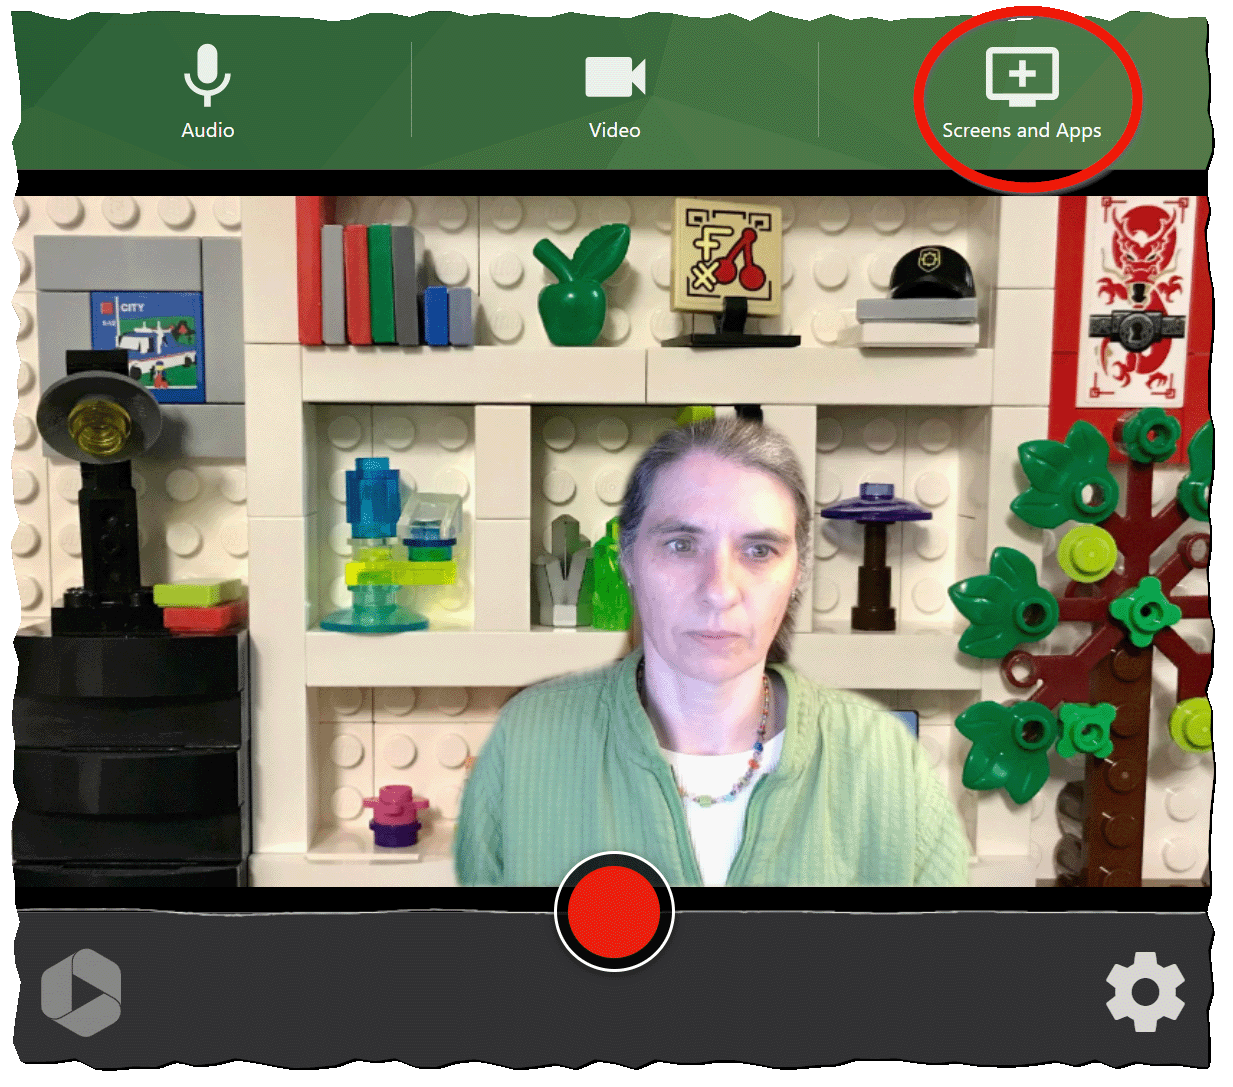
Press Record
It's always a good idea to record a short test to see how you look and sound.
LEARN MORE Panopto Create Features Open in New Window

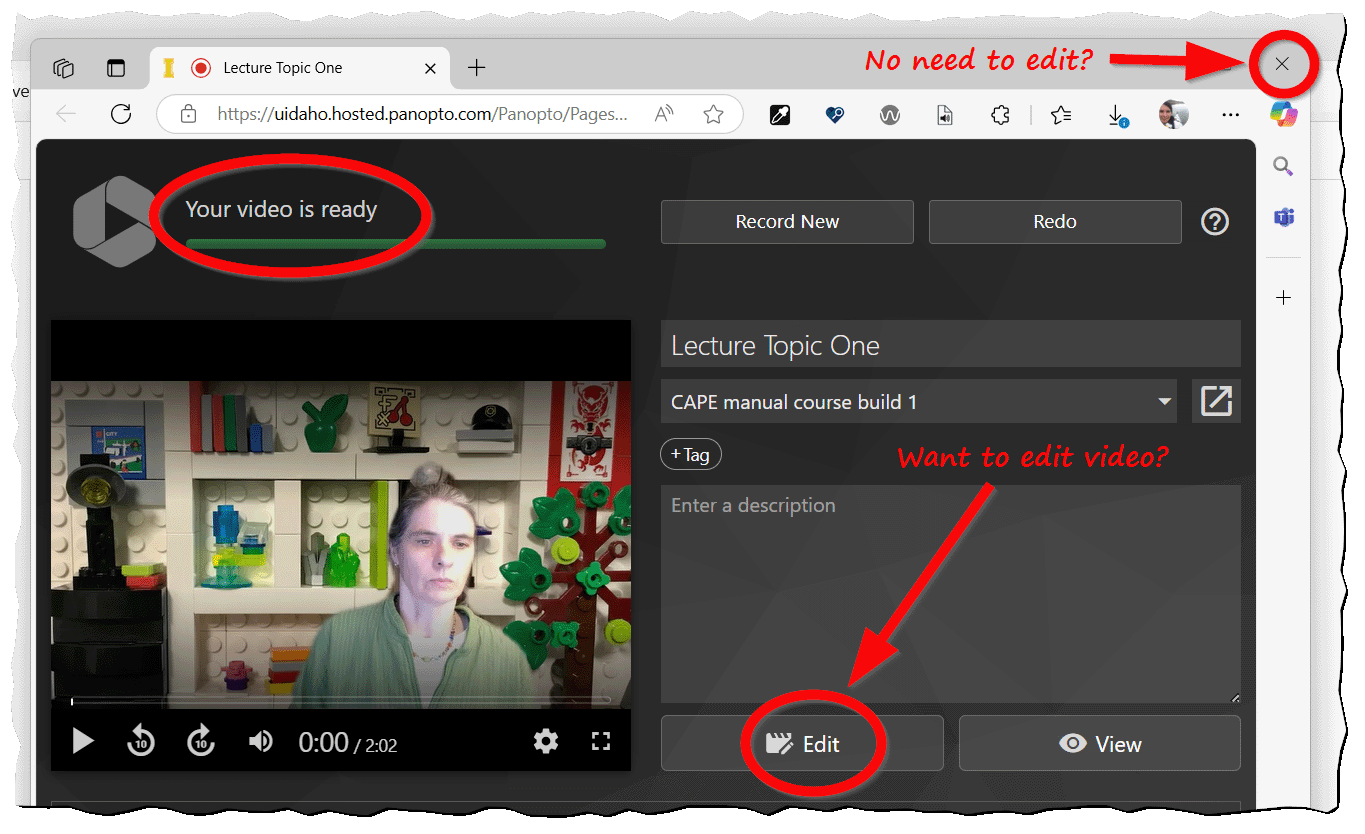
Finish or Edit?
When you're done recording, you can watch your video. If you're happy with it, close the video recording window to return to CANVAS with the option to insert your video.
If you'd like to trim your video, click Edit.
Edit Video
Panopto is a non-destructive editor, meaning that it will trim your video, but never actually deletes anything. Rather it dynamically rebuilds the timeline.
Click and drag to select the sections of the timeline you want to trim off.
The left side of the video editor allows you to edit the auto-generated captions, manually add slides, create interactive quizzes and more.
Press Apply to finish editing.
LEARN MORE Panopto Edit Features Open in New Window

Insert Video
You can either Insert the video from the Record tab, or under Choose you can browse and select any video you have access to.
LEARN MORE How to Insert a Video Link into a Canvas Module Open in New Window
